For us guys trying to survive, I’m going to start cooking class with a cherry pie. And why not? We could start with how to boil water, but then what do you have? Hot water. My way you end up with:
1. A Cherry Pie
2. Survival Confidence
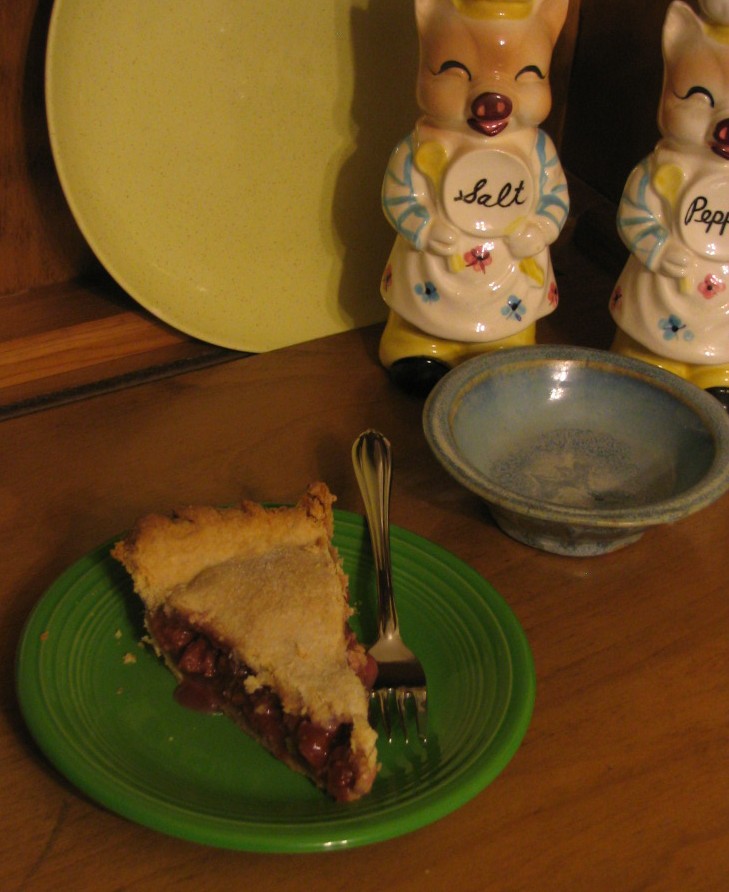
Piece of Cherry Pie
My wife Dona use to make a pie every Friday night. It was our Pizza and Pie Night. Pizza, pie, and a movie. Tradition.
After Dona’s death, I felt it important to keep some continuity for the kids and for me. When you gal’s gone, there’s things you will want to change and others that will change whether you like it or not. But a few traditions you’ll want to keep.
Pie was one of mine. So here we go:
1. The Ingredients and Utensils
Grab these things at the grocery store:
1. All-Purpose Flour (Might as well get a 5 lb bag.)
2. Kosher Salt (As Alton Brown says, this is always good to have handy.)
3. Baking Powder (Not baking soda; there is a difference.)
4. Butter (Get a pound at least, that’s 4 sticks. Put this in the refrigerator. And don’t get margarine – yuk!)
5. Crisco (I know it’s not good for you, but we’ll just use a little. Put this in the refrigerator, too. This is not to keep it preserved but so you can make your dough with chilled fat. More about this later.)
6. Cherry Juice (Not Kool-Aid or juice drink. Look for 100% juice. You can drink the remainders for breakfast. Chill this.)
7. Sugar (A 5 lb bag.)
8. Canned Cherries (Do not buy up Cherry Pie Filling which is mostly goo. Look for canned cherries in the canned fruit aisle, not the baking aisle. Pick up 2 cans. You might as well get water-packed as we’re just going to drain out the liquid anyway.)
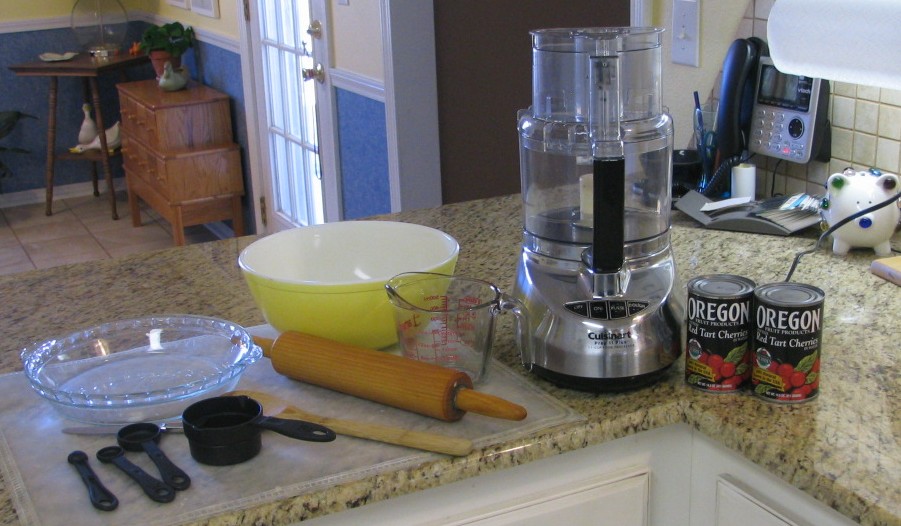
Cherry Pie Armamentarium
In your kitchen you should have or need to obtain these tools:
1. Oven (Duh.)
2. Food Processor (The ‘why’ later. Invest in one from a kitchen store. It’s worth it. Don’t get the smallest or cheapest, but you don’t have to get the most expensive either.)
3. Can Opener (Manual or electric, whatever.)
4. Pie Plate (This can be picked up at a kitchen store, if you don’t have one. Glass is nice and durable so long as you don’t drop it.)
5. Measuring Cups (Get a set that has various sizes.)
6. Measuring Spoons (Various sizes on these, too.)
7. Table Knife (I guess a Swiss Army Knife would do. Clean it though.)
8. Liquid Measure (In Chemistry lab, this would be a beaker.)
9. Rolling Pin (Wood is nice.)
10. Wooden Spoon
11. Large Mixing Bowl
12. Oven Mitts (Or Welding Gloves – I’m serious. Got this tip from Alton Brown, too.)
13. Trivet or Fold Dish Towel (Always know where you’re going to set something before you take it out of the oven.)
2. The Crust
Yes, we’re going to make a pie crust from scratch.
The idea of pie crust makes most women’s eyes glaze over. Too difficult, too many ways to fail, too time consuming, too technique sensitive.
They succumb to the ease and wicked expediency of a store-bought crust. Don’t you do it! Store-bought crust tastes awful. Any dough that tastes bad raw isn’t going to taste any better cooked.
Raw, from-scratch pie dough is amazing. Try it. And know:
Any attempt at homemade pie crust is better than store-bought.
The professional cooks will tell you the key to pie dough is chilled fat. That’s right. But then they take off into the stratosphere. I read an article about ‘simple’ pie crust. The first paragraph swore crust was easy, but every paragraph after that added complexity, frustration, and intimidation. This particular article directed one to chill everything from the flour to the bowl.
Really? Who has the time or inclination to do that?
Then the authors committed the unpardonable: They banned the use of a food processor.
Well, that did it! They just disproved their first assertion that crust making could be easy.
Now why would a food processor be needed? Pie dough is best tender and flaky, two goals at odds with each other. The dough has to have fat (in our recipe, butter and a little Crisco) cut into pellets surrounded by flour. Don’t even bother to do this with a dough cutter or two knifes. Good grief. Go out and buy a food processor. Some chefs think this is cheating, I’m sure. Whatever. We’re surviving and with homemade pie dough, thank you very much.
Cherries photo credit: Darwin Bell via photopin cc
So let’s make the dough.
Put 3 cups of flour, ½ teaspoon of salt, and ¼ teaspoon of baking powder into the food processor. Turn on the machine and let it blend these for about ½ a minute.
Add to the food processor 2 tablespoons of Crisco and 2 sticks of butter. 2 sticks is a ½ pound or 1 cup of butter. Cut the butter into pats and toss them into the food processor. Now pulse the processor about 20 times until the butter is about BB size.
Have about ¾ cup of chilled cherry juice. Now the experts will tell you to put in as little liquid as possible, tell you what consistency you’re looking for, then give you a range for the liquid measure. I found the high end of the range is impractical and the low end impossible. More power to the experts, but we’re not going to get frustrated trying to impress someone we don’t even know.
Start with 4 tablespoons and pulse the machine about 7 times. After this, add ½ to 1 tablespoon at a time, pulsing 3 times in between each addition. Do this until your total liquid is up to 8 tablespoons and check the dough. Know that 10 to 12 tablespoons will be what you’ll end up with. You don’t want the food processor to clump up the dough. You do want the dough to hold a shape when you squeeze a bit in your hand.
Spread a little flour on a clean countertop or a plastic rolling sheet. Dump the dough out of the machine. You’ll wonder how this pile is ever going to make a pie.
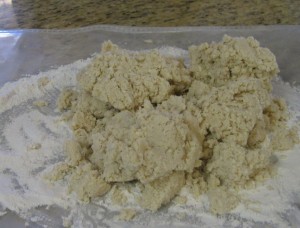
Dough Ready for Rolling
A word of caution about a food processor:
The blade is sharp.
Your lady’s gone. There’s no one to rush you to the hospital with a half-severed finger. So, don’t be dumb.
Half the dough and pat the halves into 2 discs. Here many cooks will tell you to refrigerate the dough for an hour to ‘let it rest.’ Shoot! We’re guys trying to survive. We don’t get a rest, so why should the dough. Let’s get going.
Roll out one of the discs into a circle. Have enough flour on the counter and on the rolling pin so the dough doesn’t stick. Don’t work it too much but neither do you need to be afraid to re-roll if it starts to break. You’ll get better with practice, and remember:
Any attempt at homemade pie crust is better than store-bought.
Fold the rolled-out dough in half then in half again. Transfer the dough to the pie plate and unfold it. Gently conform the dough to the inside of the pie plate. There will be a lot overlap at the sides. We’ll get to this.
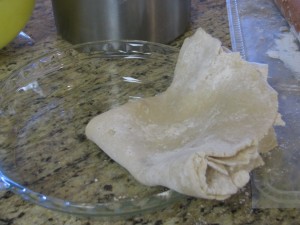
Bottom Crust Transfer
3. The Filling
This filling is easy and fantastic. Canned Cherry Pie Filling is gross compared to what we’re going to do.
In your large mixing bowl, put in one and one-third cups of sugar. Stir in 3 tablespoons of flour.
Open the 2 cans of cherries. Drain out the liquid by pressing the can’s lid down, turning the can over the sink, and pouring out the liquid. You want a pie that once cooled has a well-set filling, not a runny mess. This is why frozen fruit is not ideal for pie. The ice crystals carry too much water into the oven, and then the pie bleeds once you cut it. Violent.
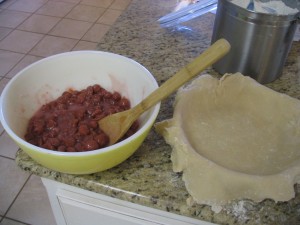
Cherry Pie Filling
Dump the cherries into the sugar-flour mixture and stir with your wooded spoon until the cherries are coated and the sugar taken up. Some recipes want you to cook the cherries down on the stove. You don’t need to do this here.
Pour the filling into the bottom crust.
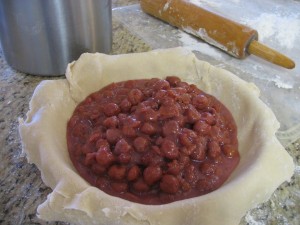
Raw, Topless Cherry Pie
Roll out the remaining half of the dough. Roll it up on the rolling pin to transfer it to the pie plate. Let the rolling pin lay out the top dough.
Take the overlapped dough and press the edges of the top and bottom crusts together like play-dough. This seals the edges. You’ll still get a mess on the bottom of your oven. Don’t worry; it chars off.
Pinch up the edges between your thumbs and knuckles. Cut the overlap off with the table knife. What falls on the counter is, in my opinion, properly processed raw dough… and tastes great! O yeah!
Back to the pie. Make about 8 slits in the crust to vent. You can even decorate the top. Pies are supposed to be ‘rustic,’ a word the big chefs use as code that no pie is perfect like a wedding cake. Still, you can show off a little flair. With the leftover dough, press out a couple of circles with the ½ teaspoon measure. Cut out a quick couple of leaves and a bifurcated stem. Voila! You have a decoration. Anyone seeing it will think you are an artist.
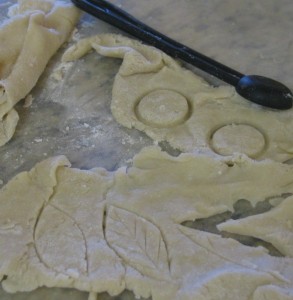
Making Pie Decorations
And you are.
4. The Finish
Sprinkle a little sugar on top of the crust and bake the pie in a 375° oven for about 50 minutes. Depending on how fast or slow your oven cooks, you might want to check the pie about 40 minutes into cooking. You want the crust golden but not burned.
Take out the pie and place it on a trivet to cool for at least an hour or two. Once cooled, your pie should not run but if it does, no matter. You still have cherry pie. Just squeeze the cherries in the can a bit more next time or allow the pie to cool longer. By tomorrow, the pie will be set anyway.
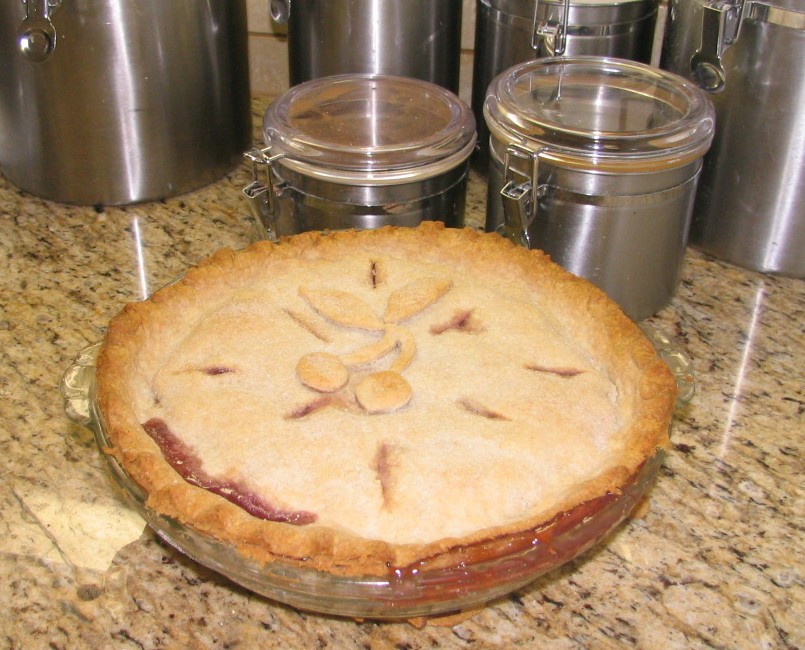
Finished Cherry Pie
Now sit back and taste your own amazing creation. You couldn’t get a pie this good for less than $35.
Your lady would have been proud of you.

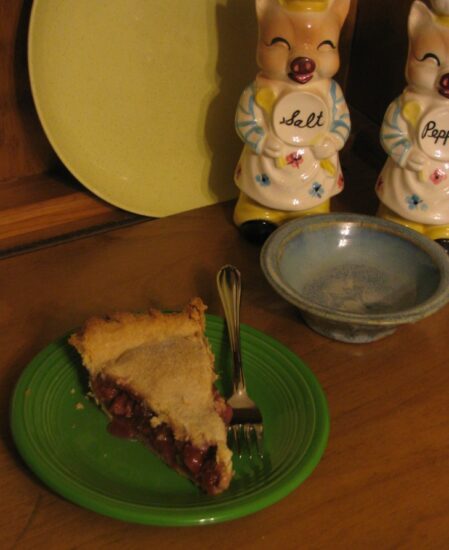

Yum! Looks great and easy
Try it for Matt, or contrariwise, have Matt try it for you.
Dona would be so proud of you, not only because the pie looks great and was probably yummy but for your great attitude. This post, in addition to a good recipe I will try, was filled with love and appreciation for Dona and for the traditions that made your family life so rich and good. Thanks for sharing with us.
Dona was so good she didn’t need a food processor. But I won’t do that. Let me know how the pie turns out. Thanks for reading.
Just read your amazing recipe. Now I want cherry pie. I’ll be trying this soon. Angie can let you know how it turns out. Thanks.
Thanks, Steve. I’ll be looking forward to Angie’s report.